Designing Your Game in Melon Editor: Levels, Tilesets, & Objects Simplified – Hi gamers who want to make your own game, you on the right website. Introducing melon editor builder game 2D free to you. Lets make a game today and build your own game with free.
In this artcle, you will learn more about melon editor tutorial such as levels, tilesets and object. Just watch the video to make understand what you want to build. Play the video to watch the tutorial.
1. Creating a Level in Melon Editor
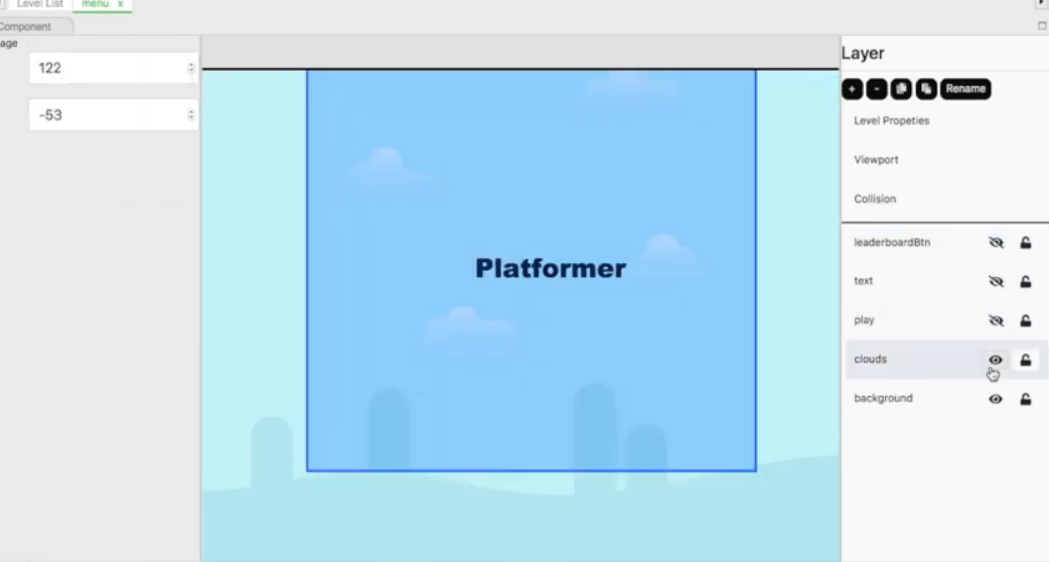
A level in Melon Editor is the core of your game world. It’s where everything happens—tile maps, sprites, game stages, and even leaderboards coexist. Here’s what you should know:
What Is a Level?
A level is a scene that contains all game objects from tile layers and sprite objects to areas, stages, and scoreboards. It’s where your game’s story and difficulty advance to accommodate players of various abilities.
Level Component Properties:
This component helps with crucial properties like camera orientation, dimensions of the tile grid (rows and columns), tile width and height, background graphics, viewport properties, and collision detection.
Creating and Customizing Levels:
- Go to “Create Level” on the menu bar.
- Name your new level.
- Click Create to make it.
- Work in Design mode to add objects—select from game objects and they’ll be added automatically.
- Remove objects by clicking the delete icon, and re-name layers or objects if desired.
- Lock objects so that they can’t be changed accidentally—use the lock icon.
2. Building a Tileset for Your Level
A tileset enables you to build levels out of small blocks of repeating pictures. Here’s how to build one:
Understanding Tiles and Tilesets:
Tiles are individual small parts of images—grass squares, bricks, or decorations—put together in a grid to make a complete scene. A tileset is this group of tiles.
Game Atlas and Data Structure:
- Game Atlas: A one sprite file broken up into a number of sprite segments.
- Tile Size: Sets each tile’s pixel height and width.
- Map Dimensions: Determines how many tiles stretch across horizontally and vertically, or the equivalent in pixels.
- Visual Grid: Sets tile indices to apply in each grid cell.
- Spacing & Margin: Sets gaps and reference margins when placing tiles.
Creating Your Tileset:
- Go to the menu bar and select “Create Tileset.”
- Enter a name for your tileset in the dialog box.
- Import your Game Atlas image via the Get button.
- Set tile size, spacing, and margin.
- Once applied, it is a tileset asset ready to use.
3. Designing Game Objects (Sprites)
Objects introduce interactivity to your game—ranging from characters to collectibles. How to put them in:
Creating Objects:
- Go to the menu and select “Create Object.”
- In the prompt, import a Sprite via the Sprite tab and utilize the Get button to choose your asset.
- Set frame width and height.
Adding Animation:
- Still in the Sprite tab, select your sprite atlas.
- Bottom-left, click Add Animation, name your clip, and set the sprite frames.
Configuring Collision and Physics:
- Add a collider to your object.
- Define collision behavior—whether to collide with physics, be solid, or trigger events.
If you have any question for this tutorial, lets make a comment below. Admin will answer your question as soon as posible. Thanks for visiting our website.